Author name: Scott Preston

I write books, make things and work on cars.

Bringing Back This Blog

I got rid of this domain a few years ago not doing much with it, but I decided to bring it back from the grave.

Right now it’s still the old theme and some pages are blank but I’ll be fixing this in the coming days weeks. Stay Tuned!

Engine Vacuum Diagnostic

As I’m testing the engine to find out why the power is “off” I’m checking engine vacuum. I found this diagnostic chart for a stock car.

vacuum-diag

After doing this basic check at idle and at 3000, 4000, and 4500 RPM, I’m steady… So the next thing I’m going to check will be the fuel line pressure.


Dyno Results – Original Parts

These are the results from a Chassis Dyno at Pick-Ups Plus.

  • The peak Horsepower at the wheels was 194hp, which equates to about 242hp at the flywheel.
  • The peak Torque at the wheels was 231ft-lbs, which equates to about 288ft-lbs.

The numbers are not what I was expecting, but the engine was probably ran very hard and needs a little TLC. I’m thinking that will start sooner than I thought.

Scan 12Scan 11Scan 10

One thing I’m noticing, the runs look good (though a little low) until it hits around 4100RPM, then it flattens out but it looks like there’s more to go. Going to investigate…


4-Door Parts – Try Concours

I’ve noticed that some parts I might find for a 4-door sedan are actually listed as “Concours”. A Chevy Concours, or Chevelle 4-Door Wagon has much of the same parts for the 4-door including hard to find rear seat covers… More to come…

29968924-042-1971-Chevy-Chevelle-Concours-Wagon

Rear Seats

I decided to redo the interior of the car while the major things were done, the problem though with a 4-door, is that parts are not so easy to come by. The only pair of rear seat covers were from Eckler’s Chevelle part # 630761. But the problem is they cost $289 for about $20 in fabric & vinyl.rear-seat-top

So outside of the Hog Nose rings, pliers, foam, burlap this is all the material I need. I’m looking for vinyl and fabric now. But I don’t need much.

Update 1: 8/6/13. Turns out it’s a little too difficult for the seat covers (time consuming) so I ordered a 71AS4D10S from Summit Racing. Not the pricing I wanted but oh, well… Turns out the Concours Wagon is the same seat. I might try searching for these parts vs. 4-door Chevelle.

Ride Height

I have a new set of Hotchkis Springs 1″ lowers in the front and the rear. However my rear is a little low. The Hotchkis part numbers are 1901R, or 19930003 springs, but I’m going to install something that give me a little higher rear as the front springs are a little too much of a pain to change.

rideheight-before

Trying out a pair of Moog, 5413’s, they should arrive from Amazon.Com tomorrow. I’ll show the after photo later.

Decided against the new rear springs instead went with Air Bags and I kept the Hotchkis 1″ lowering springs.

chevelle-ride-height2

You can see the bug is a little higher, but not too much so, overall I’m happy with the look/stance for now. Next year I’ll probably cut the springs.

Update 4: The bags I have are these  and officially they are called Drag Bags.

dragbags.

Update 5: My tires on the front and rear are 28″ tires. 275/60 R15s on the rear, and 235/70 R15’s on the front. I could lower the front by putting on a smaller tire, but the tire would also ride below the wheel well.

Front Coil Installation

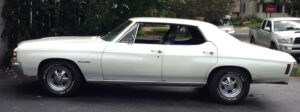
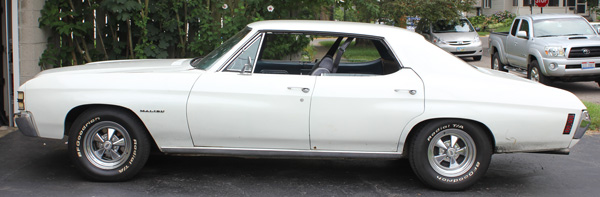
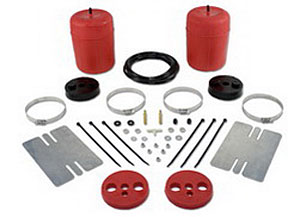
I purchased a set of Hotchkis 1901F’s and installed in my Chevelle. The ride height looks a little high, I am wondering if I need to cut the coil or re-clocking it will help.

front-coils-reclock

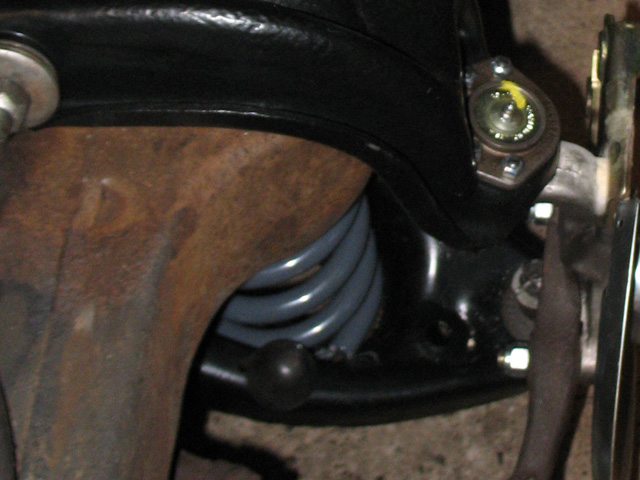
If you see the above picture, the end of the coil should be at the 9 o’clock position, but it’s at 5 o-clock.

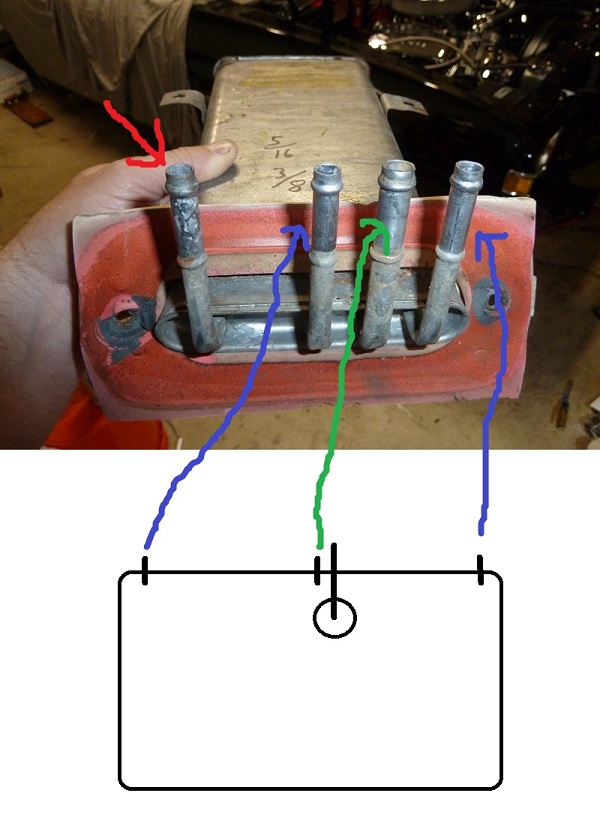
To install I used the following mechanism.

  1. Unbolted lower shock, but left it in.
  2. Chained the coil to the frame (big-a$$ chain)
  3. Jacked car and put on stands.
  4. Put floor jack under lower control arm.
  5. Jacked it up.
  6. Removed spindle bolts.
  7. SLOWLY lowered lower control arm.

Of course cutting re-clocking means another alignment… Arr…

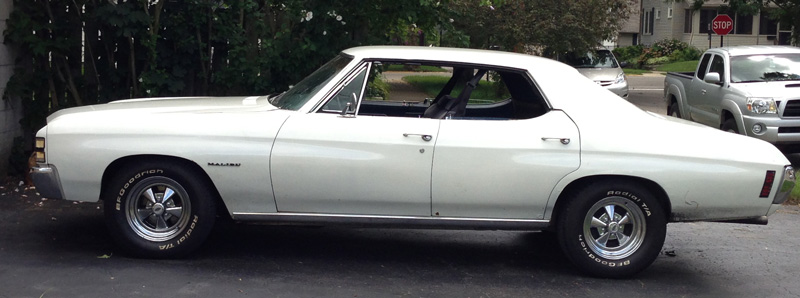
Update 1. I reindexed the right front coil to the correct position and guess what, the car is about an inch higher in the front after moving to the correct position. Hopefully driving it around will fix it a little, if I remember it settled about an 3/4″ after a few months. I’ll probably do this again next spring and cut a coil to lower the front.

Update 2. Learned about spring seating. Here’s how it’s seated.

spring-seating

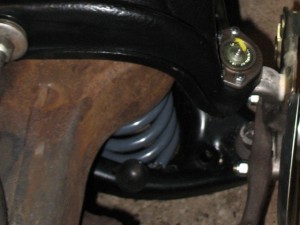
Here’s how it looks from the top, and it looks like it needs to move over a bit, because it looks like it’s on the lip.

coil-top

Update 3: I ended up cutting a third off the right spring. I know sounds crazy, but it actually leveled the car. I drove it and it seems fine though the right camber is a little off and I’ll need to shim it again (but not this year). Next year I’ll lower it a little more and even them out. p.s. Hotchkis Actually Recommends Cutting Their Springs.

Fuel Line Leak

I had a fuel line leak today when trying to uncover my “Chevelle Lean”. In the process I learned two things about the fuel tanks.

1) I received from watching a video on removing the leak.

The second from a post a chevelles.com, which talks about a fuel vent.

fuel vent